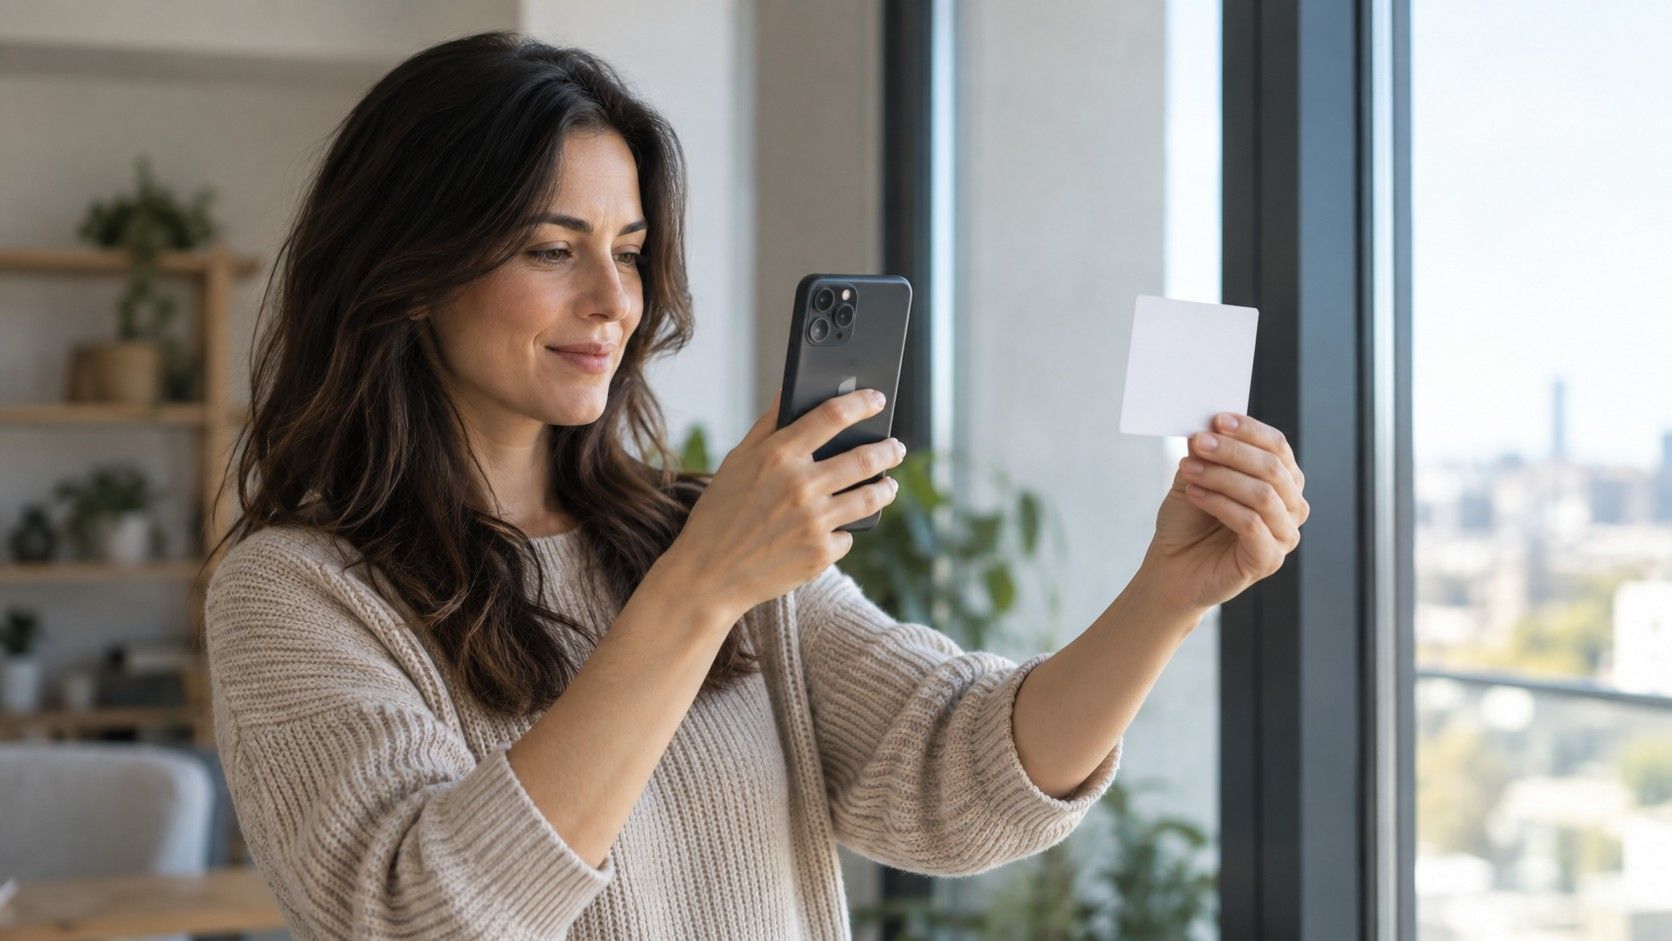
A phone can make a useful record of your face, but it cannot settle your undertone in the way a thermometer settles a temperature. A camera is constantly interpreting light, often before you have even pressed the shutter. Used with some discipline, though, a skin undertone test camera setup can help you compare evidence instead of trusting the most flattering selfie.
Why the same face changes from one camera result to another
Most confusing skin tone test results begin with automatic white balance. In a warm kitchen, the phone notices yellow light and cools the whole scene; beside a blue north-facing window, it may add warmth back. Both corrections can make the skin appear more neutral than it looked in the room. A front camera can also smooth shadows and lift saturation, which is pleasant for a video call but poor material for an undertone checker.
Exposure creates a second trap. When a bright window sits behind you, the camera may brighten your face until pinkness, freckles, and the quiet grayness that often signals a cool or olive cast all disappear. When the image is underexposed, almost everyone looks deeper and warmer. That is why a single image rarely answers “what is my skin color?” It is one reading from a device that is making several aesthetic choices at once.
Set up a photo that gives the camera less to invent
Start with indirect daylight near a window, not a sharp patch of sun. Stand about a step back from the glass and face it, with a pale wall behind you if possible. Mid-morning or late afternoon tends to be easier than the golden hour, when the light itself is strongly yellow. Turn off beauty mode, portrait retouching, makeup filters, and any screen tint that makes the preview look more comforting than reality.
Use the rear camera if someone can take the picture for you. It usually gives a more consistent file than the close front camera, and it encourages a little distance. Hold a plain white sheet and a soft gray or beige fabric near the lower edge of the frame. They are not magical color cards; they simply reveal whether the camera is pushing the whole image blue, yellow, green, or pink. Take three frames without changing rooms, then compare them on the same screen.
Lighting traps that make an undertone look warmer or cooler
Bathroom mirrors are notorious because overhead bulbs put warm light above the forehead and leave the jaw in shadow. A ring light is not much better for this task: its even brightness can remove the small shifts around the mouth and eyes that make a color comparison useful. Avoid a colored wall, a red shirt, or a bright scarf near the face. Reflected color is real; a coral top can make neutral skin look peachier within seconds.
Outdoor shade is helpful only when it is open shade. Under dense trees, green light reflects upward and can make almost anyone look olive. Near a brick wall, reflected orange does the reverse. If you are testing a phone photo outside, choose a clear view of the sky, stand away from strong surfaces, and take off sunglasses. The goal is not a glamorous portrait. It is a boring enough image that your camera has little drama to work with.
Read a camera result as a pattern, not a verdict
Look first at repeated clues across several photos. Does a soft rose fabric make your face look rested while yellow cream makes the under-eye area look gray? Does muted teal make the skin seem even, while tomato red brings out redness? Those reactions are more informative than whether a phone labels the image “warm.” Skin can be surface-red from exercise, deeper from sun exposure, or olive with a cool undertone underneath. A category is useful only if it predicts which colors make the face clearer.
Keep the camera test separate from a foundation match. Makeup brands classify depth and undertone differently, and a foundation that disappears into your jaw may still have a peach cast that is not your best clothing direction. A useful skin color test asks two questions: what depth does the skin have today, and which nearby colors reduce visual noise? The first may change with season; the second usually shifts much more slowly.
| What you see in the photo | Likely camera cause | Useful next check |
|---|---|---|
| Skin looks orange in every frame | Warm indoor light or a warm display | Retake beside a window with a white reference |
| Face looks pale and pink against white | Cool daylight correction or overexposure | Lower exposure slightly and compare gray fabric |
| Jaw looks green or gray only outside | Tree shade or reflected surroundings | Move to open shade away from foliage |
| Different cameras suggest different undertones | Lens processing and automatic white balance | Trust fabric comparisons repeated in one setup |
Confirm the photo with real fabric near your face
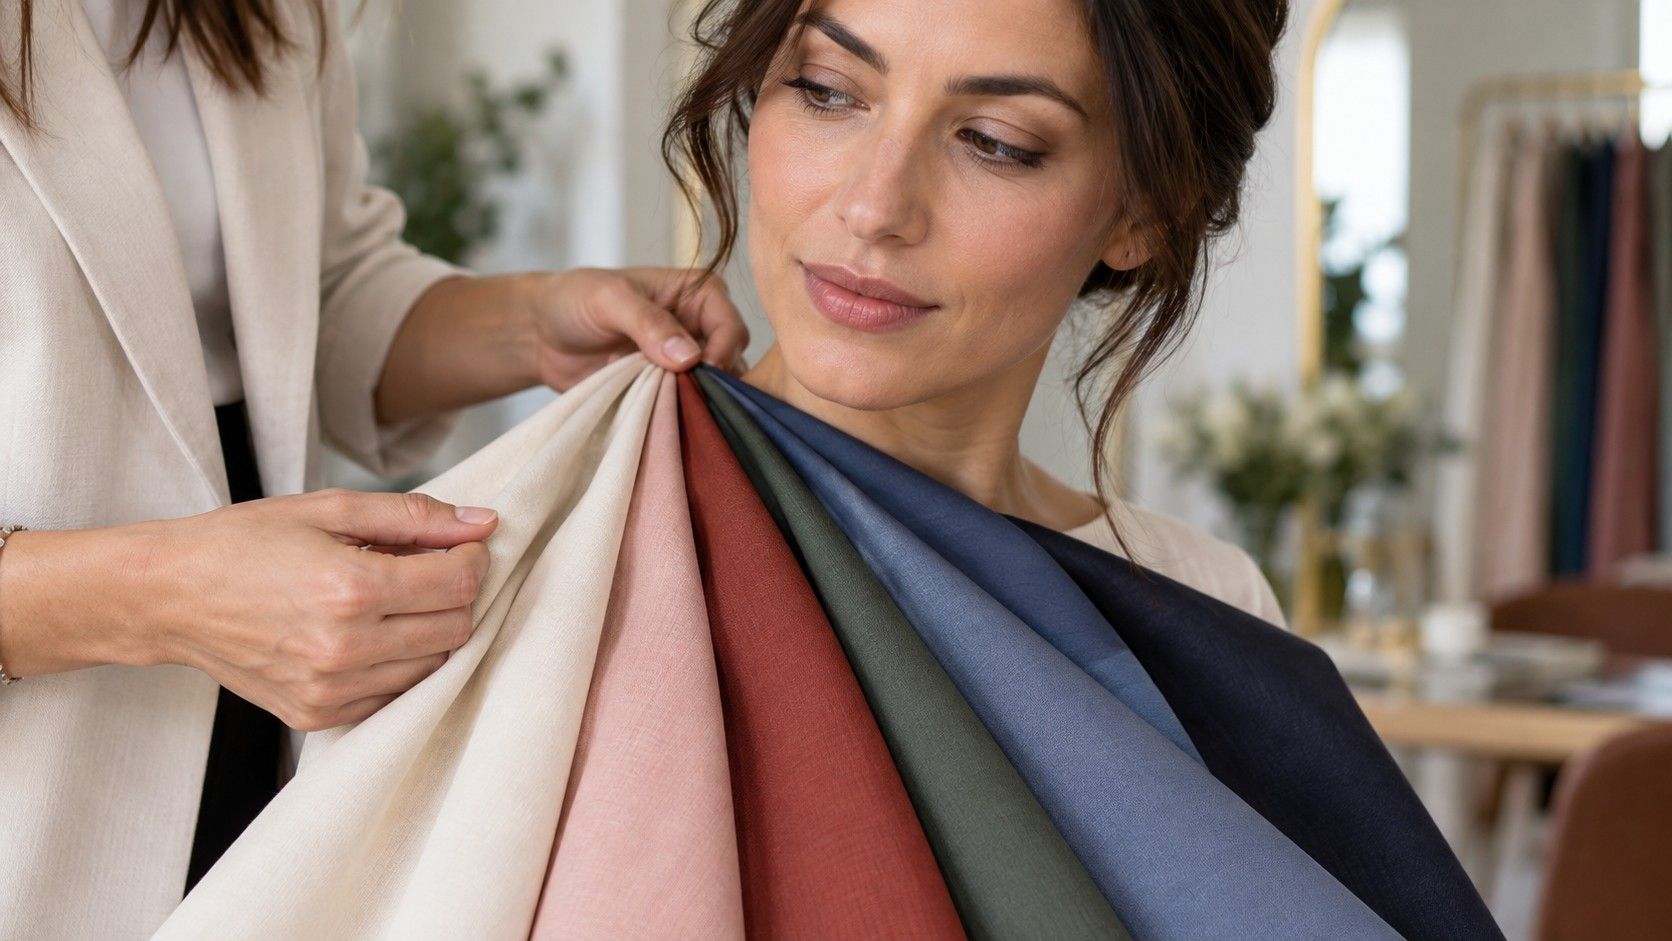
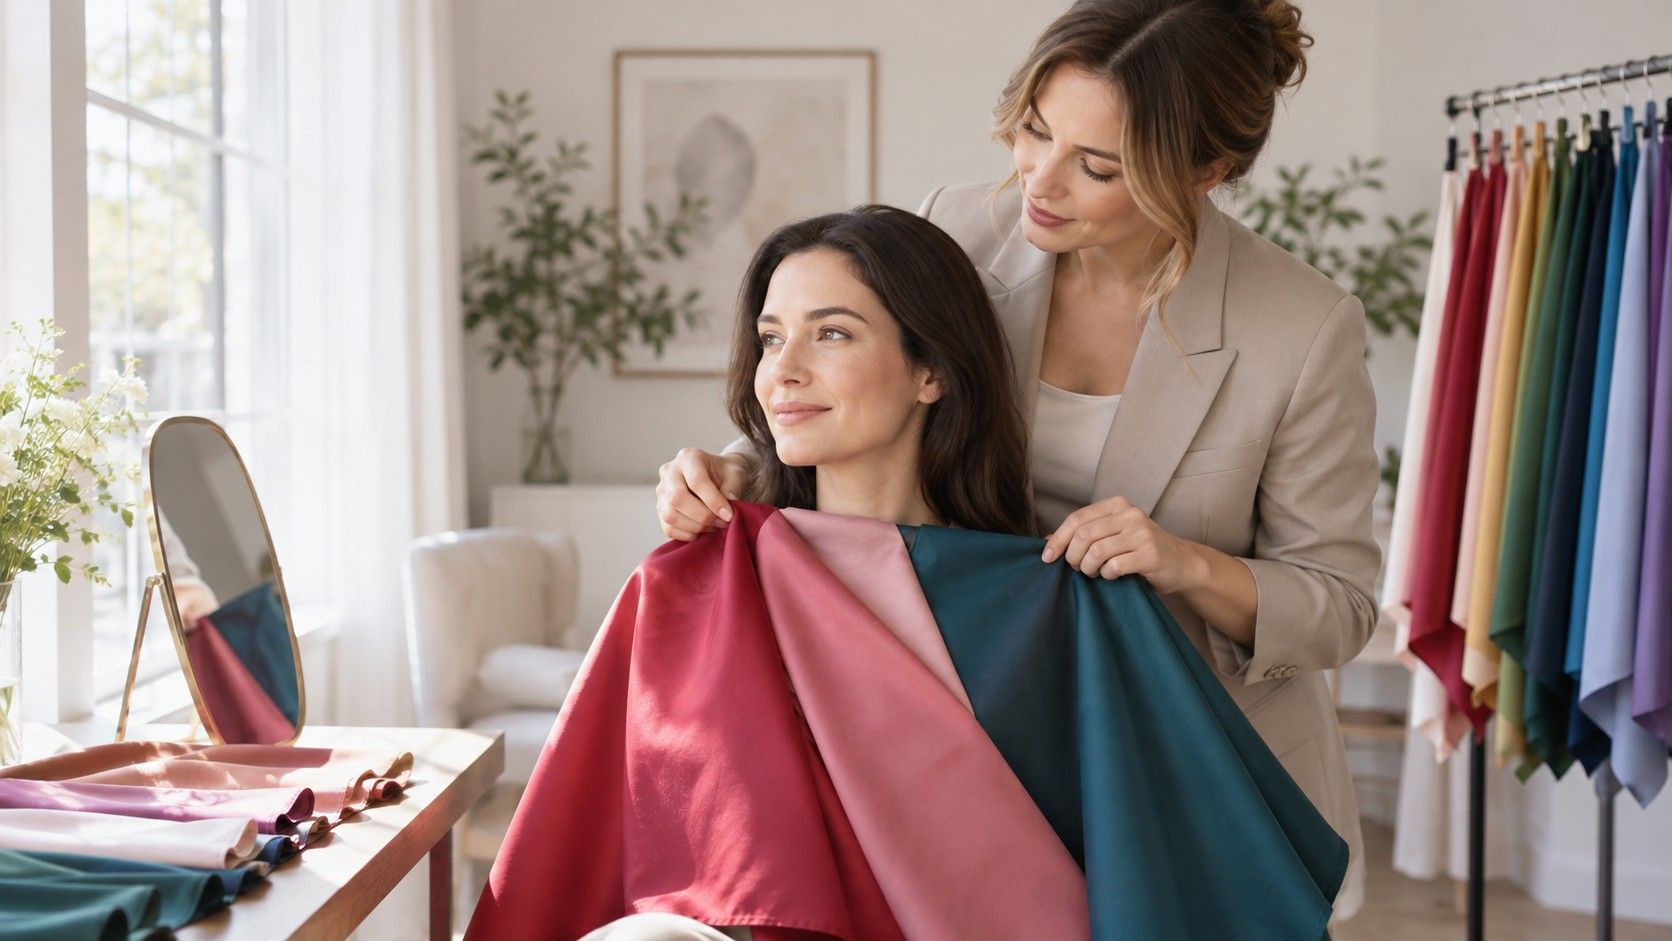
The most convincing follow-up is not another app. It is a small set of plain fabrics in daylight: warm ivory and cool white, dusty rose and coral, muted navy and bright black, moss and blue-green. Drape one at a time below the chin, with little or no makeup. Do not ask which color you like on the hanger. Watch the skin around the nose, chin, and under the eyes. The better option usually makes those areas look calmer before you have time to argue yourself into a favorite.
Photograph those comparisons from the same spot if you want a record. Label the files with the fabric color rather than “warm” or “cool,” so you do not steer your own judgment later. If two colors both work, that may point to neutral coloring, medium contrast, or simply different levels of saturation. Personal color is not a courtroom verdict. The camera is most helpful when it turns a vague impression into a repeatable comparison you can bring to a dressing room.
When to ignore a phone result and look again later
Skip the test when you are sunburned, freshly self-tanned, wearing a strong base product, or recovering from a night with little sleep. Those conditions can exaggerate red, gold, or gray tones and make a normally reliable comparison look dramatic. It is also sensible to repeat the test after changing hair color, especially if you went from dark brown to light blonde or added vivid copper. The skin has not changed its undertone, but the contrast around it has.
If the results remain mixed, that is not a failure of the exercise. Many people sit near the middle of the warm-cool scale, and broad seasonal palettes are guides rather than laboratory categories. Keep the photos, test a few garment colors in real daylight, and notice which choices make you reach for less corrective makeup. That practical outcome matters more than forcing one stubborn image to name your undertone.